How I started keeping bees — and how you can too! 🐝
Published on: 5/12/2020
I never wanted to become a beekeeper; it just wasn’t a profession I had ever considered. I even went to a university with one of the best beekeeping programs in the country and didn’t take a single class. To me, being a beekeeper was reserved for men my grandpa’s age who lived in the country. I grew up in the GTA (Greater Toronto Area), and as far as I knew, there were no hives in the suburbs.

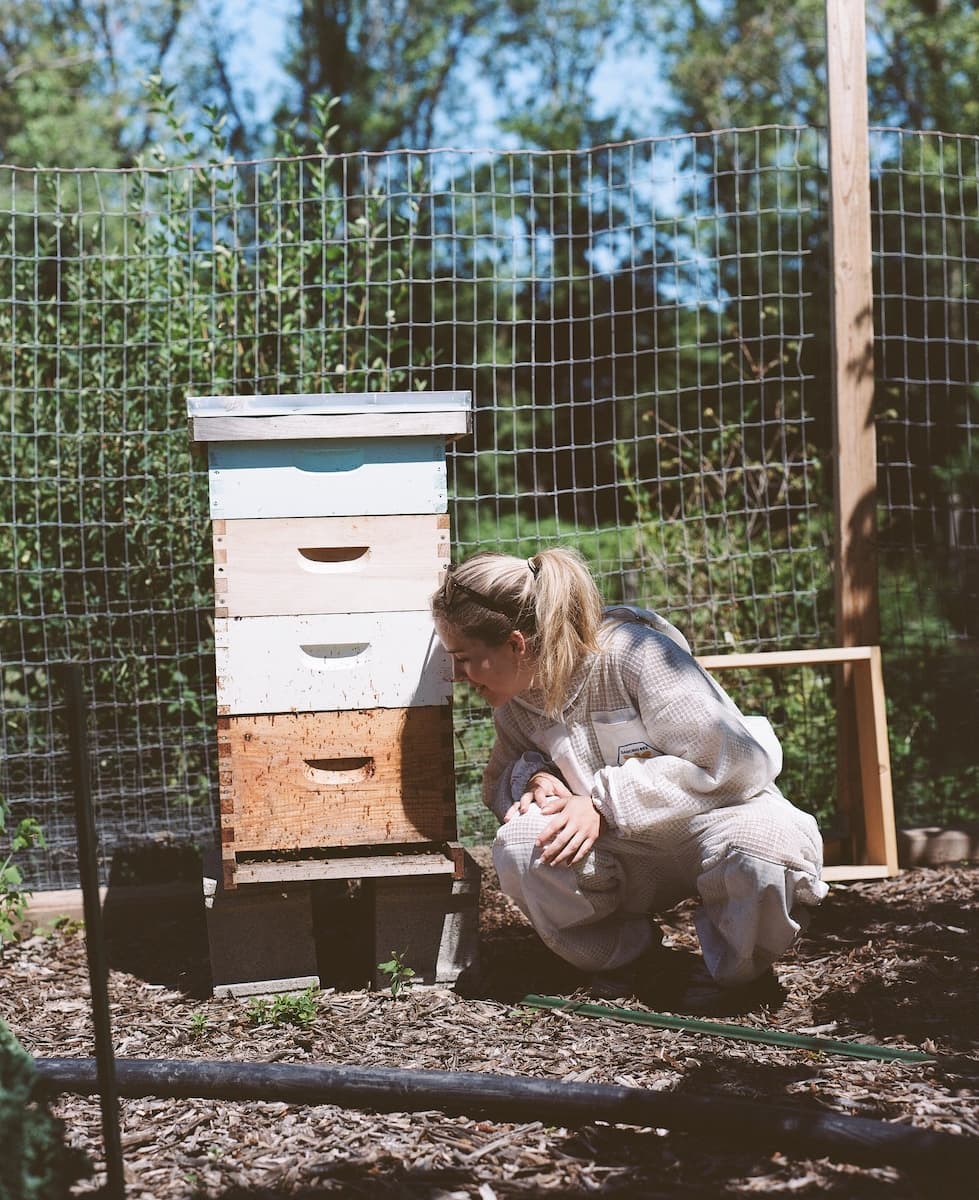
Beekeeping fell into my lap the same way software development did: a spur of the moment decision sparked by a random conversation with a friend. I started going through the motions, checking off the boxes of “how to keep bees,” and before I knew it I was (quite literally) elbows deep in a hive full of my own honeybees.
That “conversation with a friend” occurred in Nova Scotia with my good friend and current co-beek, Stephen Pepler. We were hiding from the rain in a friendly east-coast coffee shop called the Bean Barn Cafe, and Steve brought up a documentary he had recently watched about the migration of the Monarch Butterfly, called Flight of the Butterflies. He was inspired by the story of the Monarch, as well as the endangered state of butterflies and other pollinator species.
According to the David Suzuki Foundation, “over three quarters of wild flowering plants and one-third of the food we eat depend on insect pollination.” Many of these insects that we know to be at the forefront of pollination, such as bees and butterflies, are endangered. So, Steve and I asked each other, what can we do to help? He suggested getting a beehive. I was intimidated by the idea at first, but after a bit of coaxing, I was game.

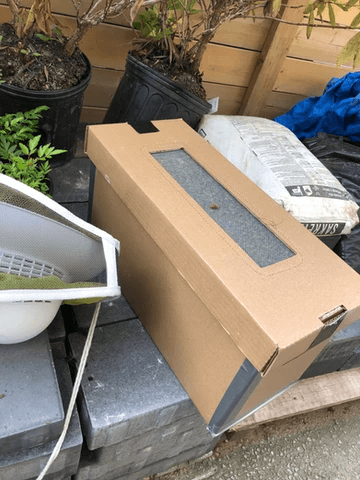
So we purchased our first honeybees. We sourced two Langstroth hives from a local beekeeping supplies store, and also ordered two “nucs,” which stands for nucleus colonies. A nuc is a compact honeybee colony typically comprised of three to six frames. The ones we purchase come with four frames — two frames of honey for food, two frames of brood (bee babies), worker bees, and one queen. The nuc arrives in a cardboard box (see above photo) that you pick up and bring to your hive for installation.
As I said earlier, keeping bees was never something I saw myself doing. I had a very generalized predisposition of what being a beekeeper meant. I knew they wore nets, the ones I saw on television were typically older men (but I couldn’t have been more wrong about that), and they probably got stung a lot. I had no idea how complex the honeybee hive was, how imperative bees are to the survival of our planet, and how healing beekeeping could be for my mental health.
It also opened me up to many new worlds, both large and small. Running our mini apiary has opened my eyes to a whole community of beekeepers in the suburbs and in cities that I didn’t see before, commonly known as “urban beekeeping.” There are beehives right under your nose — rooftop hives on business buildings, backyard hives for hobbyist beekeepers, pollinator gardens, insects, and so much more. I notice the teeny tiny universes hidden under dead leaves, buried beneath rocks, and wedged inside small pieces of wood. I see bees, butterflies, hummingbirds, ladybugs, worms, and spiders all working in unison to survive. Did you know that bees drink water? I didn’t before this either. It’s a lovely sight.
Now for the good stuff. How does one become a beekeeper? Below I’ll go through the bare minimum requirements a person would need to begin hobbyist beekeeping.
1. Contact your local beekeeping association
The first thing we did to begin keeping bees was we contacted our provincial beekeeping association to find out how to start. Ours is the Ontario Beekeepers’ Association (OBA), and we were provided with a lot of helpful information on how to source bees, how to learn, and where to seek help.
2. Consider the equipment you will need
Beekeeping is not cheap — you will have to invest some money into equipment. The bare minimum you will need to start is a bee suit, gloves, a beehive, frames, a smoker, and bees (one nuc). You will eventually need to purchase equipment to harvest honey.
3. Take a workshop
Before we tried on a bee suit, we signed up for a beekeeping 101 workshop through our OBA. We also took a pest management course, which I highly recommend all beginners do.
4. Check your bylaws
Every jurisdiction has its own rules on where hives can be placed. It is up to you to do the research necessary in deciding where to keep your hive(s).
5. Register your hives
In Canada, beekeepers must register their hives in each province. This is not only helpful for providing statistical data to the provinces, but also for keeping beekeepers informed. For example, your provincial beekeepers’ association will be able to inform you if any pesticides have been sprayed in your area, or if there is a high risk for a particular disease/pest. They can also connect you with provincial inspectors, who will step in on their own time to help you with your hives.
6. Learn as much as possible
Never. Stop. Learning. As a beekeeper, you are not only responsible for the health of your bees, but also for the health of other hives and bees in proximity. Keeping a healthy hive prevents pests and diseases from spreading to other apiaries. There is so much information available out there , especially on the internet. Guaranteed there is a Facebook group of beekeepers in your area. Look for these resources and use them.
These steps are meant to be a guide for what you will need to get started. If you have any further questions about the process, please don’t hesitate to reach out to me on Instagram or LinkedIn.